I meant to try and enter as many challenges as I could - think this is my second, times flies with all the other everyday things that need fitting in.
This month's challenge is based around page 50 of volume III of A Compendium of Curiosities - layering stencil embossing. This months fab prizes are a selection of goodies from Tim & Mario and also The Funkie Junkie Boutique,
see here.
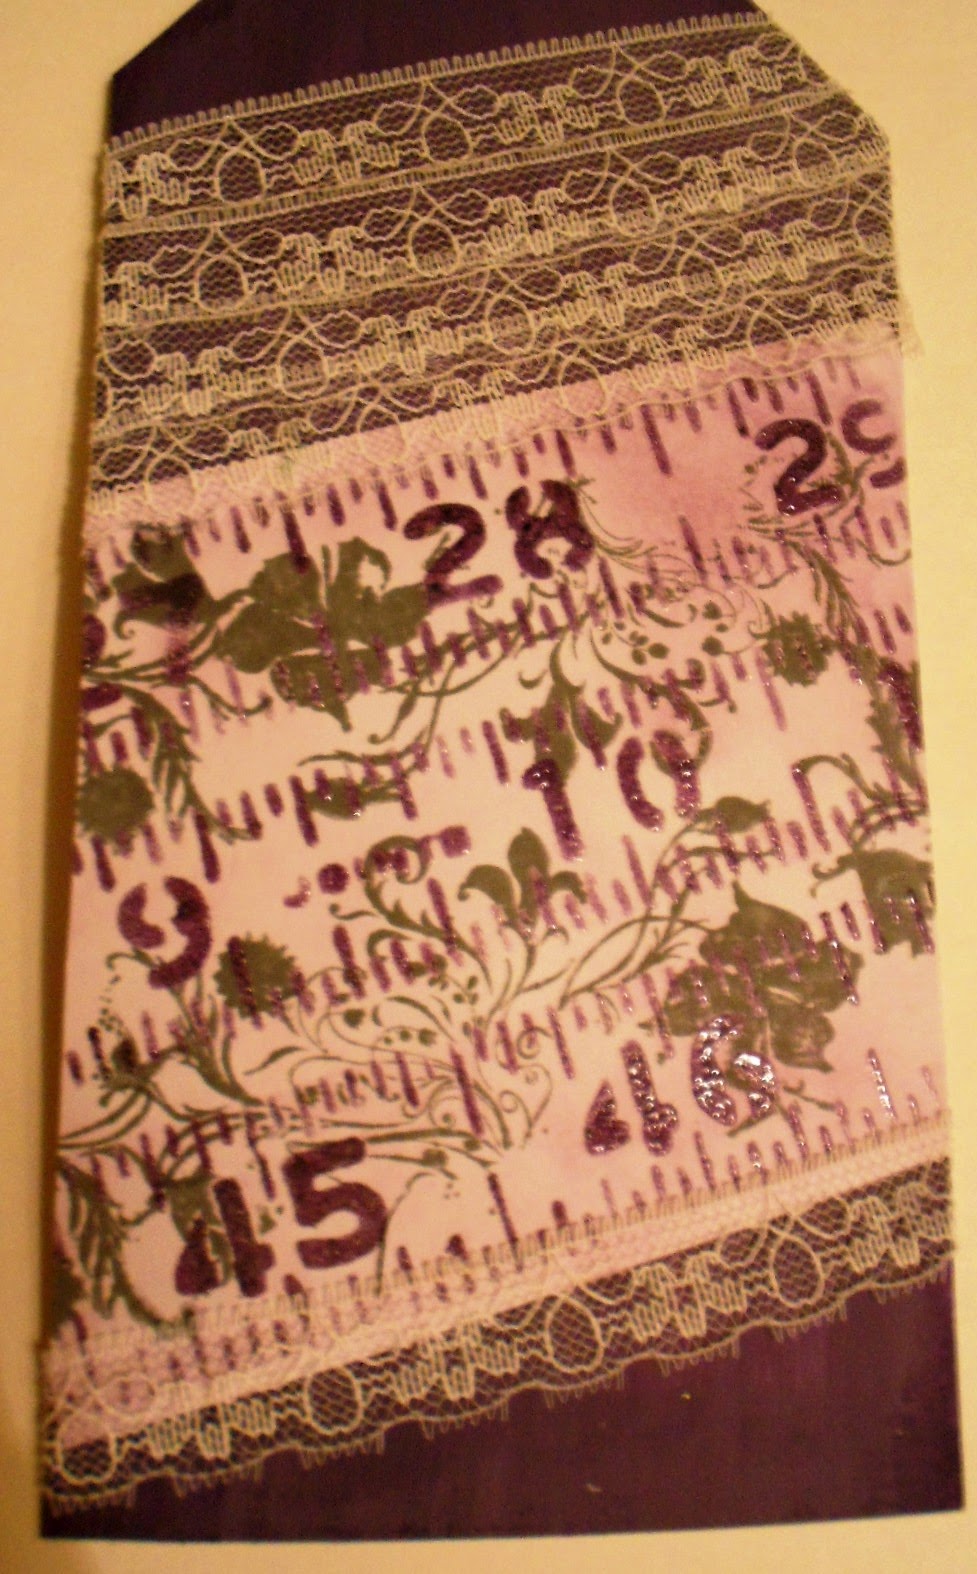
I've taken a large tag shape and painted the background in dark purple, I decided to follow that colour for my whole scheme. Next I created a panel using the layering stencil technique with my newest mask "measured". This is also stamped in grey using the same stamp I've used on the dress form.
Next followed a mannequin die cut which I also painted and then embossed with some gorgeous sparkly powder in a swirly pattern to give the idea of a dress. To add a touch more sparkle I've also added some silver wings.
A touch of lace and a flower finish the tag.