Tuesday 30 December 2014

Masterboard number 2

I enjoyed making my blue and green masterboard so much I decided to do another with different colours  - think I may be addicted lol.  You can see the original masterboards from the 3UP post on Christmas Eve here.


Monday 29 December 2014

Masterboard inspired by Paperartsy 3UP Christmas Eve post

There's been so many inspirational posts in the last week it's hard to choose what to try first - I wanted to do something I could work on on my lap the other evening so a masterboard was perfect. I quickly stamped out a random selection of JOFY stamps and set to work with my promarkers.

Here's the finished A4 sheet...


and here's the cards I made the following day ......


Thank you for looking xx


Saturday 27 December 2014

Background inspired by Anneke de Clerck

Anneke created a lovely Christmas wooden panel which you can see here.

I decided to create a journal page using the similar techniques and colours for the background as Anneke used so I wont go into step by step instructions.  But here are the steps in pictures instead......


I chose this particular project as inspiration as it takes me out of my comfort zone colour wise - overall I'm quite pleased with the end result.


Instead of a Christmas tree for the main image I stamped some JOFY flowers onto to scraps of patterned paper and fussy cut then out.  I stamped the stems directly onto the page in olive ink and glued on my flowers with a few little leaves.

thank you for looking xx

Tuesday 23 December 2014

PaperArtsy 3UP

Tonight was my first post for a PaperArtsy 3UP week - for "cracking" posts by Deborah, Margaret and myself please see here

 
Here's my finished project xx

Tuesday 2 December 2014

CC3C Challenge 16 Layering Stencil Embossing Technique

I meant to try and enter as many challenges as I could - think this is my second, times flies with all the other everyday things that need fitting in.

This month's challenge is based around page 50 of volume III of A Compendium of Curiosities - layering stencil embossing. This months fab prizes are a selection of goodies from Tim & Mario and also The Funkie Junkie Boutique, see here.

I've taken a large tag shape and painted the background in dark purple, I decided to follow that colour for my whole scheme. Next I created a panel using the layering stencil technique with my newest mask "measured". This is also stamped in grey using the same stamp I've used on the dress form.

Next followed a mannequin die cut which I also painted and then embossed with some gorgeous sparkly powder in a swirly pattern to give the idea of a dress. To add a touch more sparkle I've also added some silver wings.

A touch of lace and a flower finish the tag.


Thursday 27 November 2014

Card Inspired by Emma Godfrey Canvas

Emma created a beautiful canvas for PaperArtsy, which you can see here.

I needed to make a card for my Auntie so used similar colours and stamps as Emma used - I will try my hand a canvas when I've a bit more time.  I sponged a background using Stone and Nougat Fresco paint and cut out a shaped background panel when dry.  I also painted a couple of scraps in Spanish Mulberry and Sherbet.  I then stamped and embossed in gold - the flowers onto the pink and cut them out and the stems directly onto the background.  A few gems and some ribbon and here's the finished card.


Thank you for looking. 

Tuesday 21 October 2014

Flower picture inspired by Ellen Vargo

What with holidays, work and lack of mojo I've been a really lax blogger for too long now.  There's been stacks on inspiration over at PaperArtsy so I can't use that as an excuse.  I think the monthly challenge timescale has lulled me into thinking I've ages to complete something and then I've still run out of time !

Anyway here's my first (hopefully) project for this month, inspired by the bright and cheerful journal page from Ellen Vargo - see here for Ellens post

I started with a piece of corrugated cardboard that I stripped the edges from.  This was painted and crackled (been missing this lol).  I then used one of Ellen's mini stamps and embossed the background using Cosmic Shimmer in Vintage Luna White - purchased for Christmas cards which have yet to materialise.

I then painted a spare piece of card in Orchid and stamped another mini stamp four times to form a flower shape. A few leaves and a button middle for finishing touches.


Thank you for looking  Sarah x

Monday 15 September 2014

Creative Blog Hop

I was asked to take part in this blog hop by the lovely and talented Deborah Wainwright, check out the amazing faces she's working on at the moment see here.  This has been started off as a way to get to know fellow crafters.  This is more of a challenge for me than having to create a new piece of art, as you know my posts are often "short & sweet".

So here goes.......

My name is Sarah Baldwin and I'm 46 years old.  I have been married to my wonderful hubby, Tony, for 23 years.  I was looking through some old photos yesterday of our first few holidays together and can't believe where that time has gone.  We have live in Thrapston, Northants with our 2 teenage children. By day I work for a holiday company as a Financial Planning and Forecast Analyst (accountant!) - Thursday is my 25th anniversary with them. 


I think I've crafted in some shape or form since I learnt to knit aged about 5.  From there I progressed to sewing using my nan's hand powered machine - I had the best dressed Barbies in the area lol!  From there came embroidery, crocheting, x-stitch, candle making, dress making, jewellery making, fimo and many more.

I'm one of these people who sees something and has to have a go to see if I can do it. It's the same now with different card making/altered art techniques.  This is how I've become such a PaperArtsy addict, I saw Leandra demoing paint techniques and was so impressed I was thought I've got to try that myself.  The one thing I wish I could do though is draw, thank goodness for stamps.

Finding the PA blog lead to setting up my own a couple of years ago, something I never thought I'd do in a million years.  The support and fantastic comments from other bloggers has really given me confidence in my work and the push to experiment outside my comfort zone. (not using blue and green all the time and embracing "faces").  Seeing projects I like but don't have the exact stash for often turns out to be a good thing as I have to think around the idea and try alternatives.

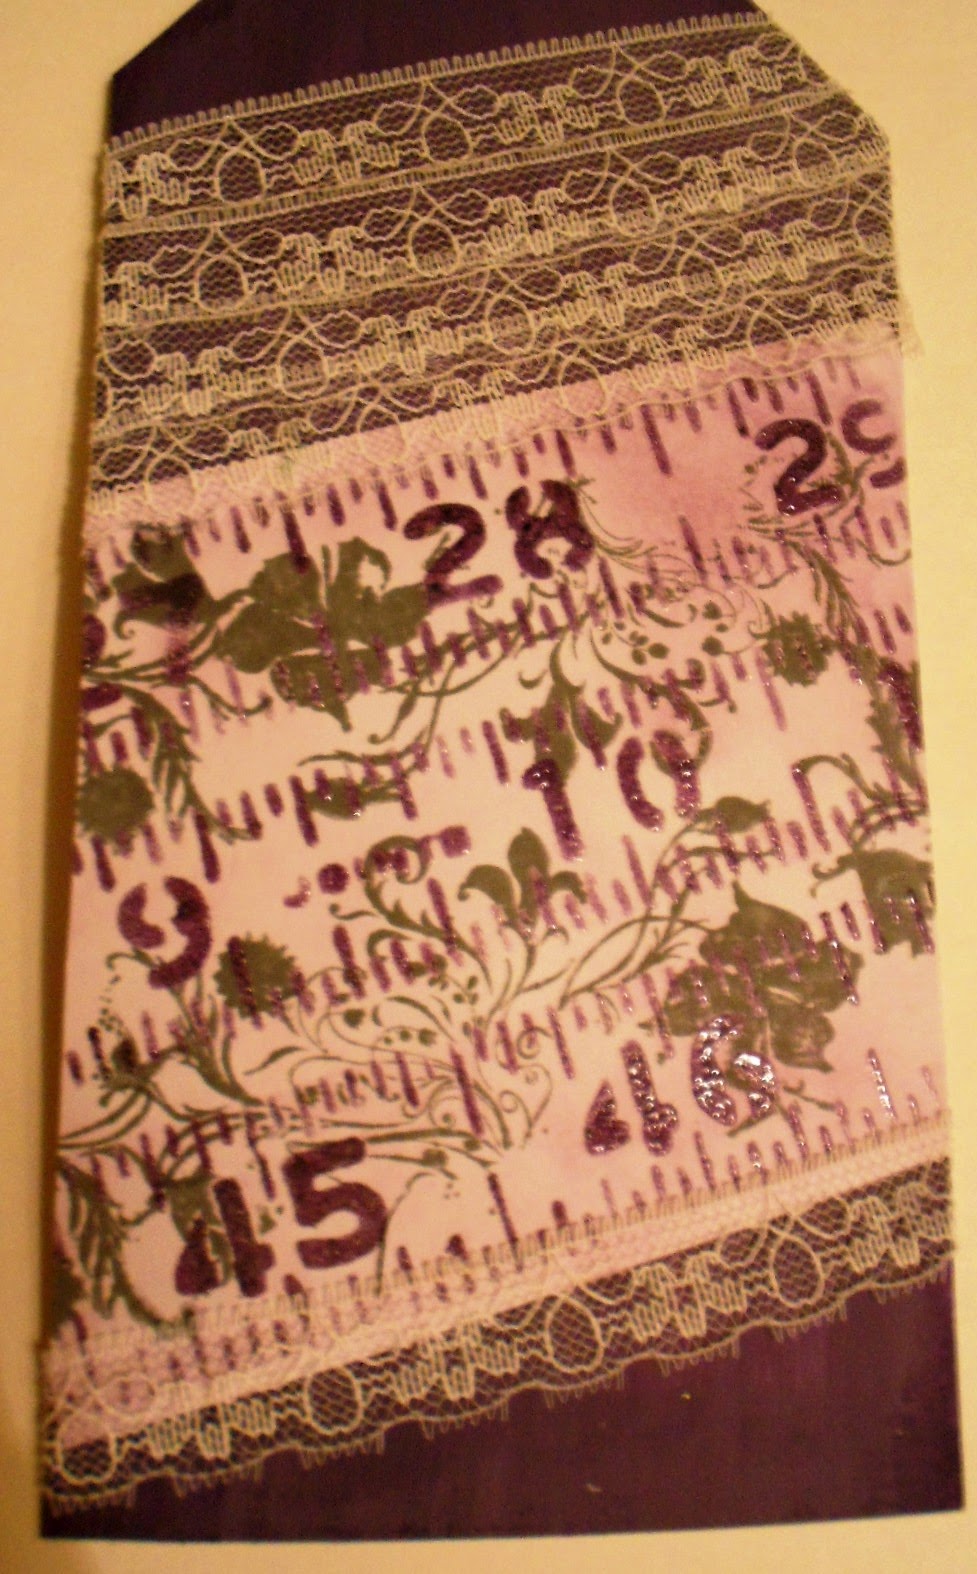
 A couple of my favourite pieces


At the moment I've a couple of things painted ready for some inspiration to hit on what to do next. I've not had much time to play recently with holidays etc. 


thanks for stopping by - if anyone would like to take up the baton and post next Monday that would be fantastic - xx

Saturday 16 August 2014

Guest Post for PaperArtsy

Been so excited waiting for today when my project is featured on the PaperArtsy blog  - very hard not to spill the beans when I met a number of fellow PaperArtsy followers at Stevenage at couple of weeks ago.   Can't believe Penny Nuttall also used a mini rolling pin this week - must be something in the air. Thank you everyone for the opportunity xx

see full post here


Wednesday 6 August 2014

Dragonsdream TIO - the letter P & Cogs

I've gone for two "Ps" - Pointing finger and little Person.  I've had this stamp set a while and this seemed the ideal opportunity to use it.  I've used several distress inks on the background to create a landscape for the little person. I thought the pointing finger looks like it's knocking over the cogs that's why he has his hands up, so I also added the word Ouch to the bottom of the tag.

Saturday 2 August 2014

Peeled Paint technique

Liesbeth Fidder reminded us of a the resist technique  using Vaseline. I had in my head that I wanted the oriental ladies peeping through undergrowth so used Tango and Haystack as my base coat and Green Olive on top. I was going to stencil in more leaves but I had a disaster with the first bit so abandoned that idea. I managed to cover it the smudges bit with a few strategically placed flowers.  Must remember to use this technique again as I really like the more random effect.

House inspired by Linda Cain

Linda showed us a wonderful 2 storey bird house this week at PaperArtsy, see here for details. I followed some similar techniques to Linda but chose to stamp and cut out my flowers as I never seem to have much luck stamping directly onto a project.

I've also had to use dreamweaver paste coloured with some Inky Pool FP instead of GP as my last little bit had dried up too much L - it's a good job I'm off to Stamperama tomorrow and can stock up J

Saturday 26 July 2014

TIO #171 - the letter H and brown

This is the current challenge at Dragons Dream Tag It On, have a peep here.

This was perfect for a new Graphic 45 stamp set I've had sitting on my desk with the wording "Hello Friend".  I've used a couple of different layers for the background, the top one crackled with PaperArtsy crackle glaze.  On top of that I've added a layered flower, sentiment and stamped butterfly with wire antennae.


Sunday 20 July 2014

Kraft and Black cards (well nearly)

I love the contrast of the black stamping on kraft card - see Joanne Wardle's here.  Afraid I struggle with the C&S style - the urge to add more layers and more colours is unbelievable.  In the end I stuck to the black and kraft card plus a hint of white and a darker brown on the words to make them stand out more.


A fab way to produce some quick but striking cards - thank you Joanne for the inspiration.

"Doll" Inspired by Penny Nuttall

I love seeing Penny's new ideas as her projects are always such fun, these dolls really make you look at your stamps in a different way, have a peep here.

I've put together a page in my journal using spare background I'd already prepared using left over paint.  Her body is an up side down castle. The arms and legs are little scrolls, I liked these as to me they looked as if they had hands and feet. I've a limited range of stamps with faces, most too small, so I've taken one of the stamps from the oriental plate and extended her hair. I've then finished the picture off with liquid pearls, a few gems and some flowers that were on my desk.


I really enjoyed piecing together this project - thank you for looking x

sorry the picture is sideways - I've edited it 3 times and resaved but it stills comes through sideways - aarrgghhh!

Thursday 3 July 2014

Altered Canvas inspired by Liesbeth Fidder


I was inspired to have a go at a canvas this week after seeing the one Liesbeth made for PaerArtsy, have a look here.

I don't have any Lynne Perrella stamps in my stash and wanted to have a change from my usual florals - not sure if that was a good idea.

I chose the car and houses from Hotpicks 1207 and a large flower from 1109 - mainly as I really love these image but never use them !

I stamped onto tissue and applied to the canvas with matt medium, a few stamped cogs and stencilled in a few leaves (had to use either JOFY or Lin Brown stencils or stamps somewhere !) -  all good so far.

I had it in my head I wanted a red car so on went watered down Blood Orange fresco paint - this is when I nearly gave up.


Anyway I persevered with some Hey Pesto, a touch of blue (can't remember which) and a smidge of Butternut - not loving it but loads better than where I thought it would end up.


At this point it was all looking a little flat so I've added some GP stencilling to the top. Not my favourite project but was fun to do (anything messy is always good in my book lol)

I need to lift the car image is anyone has some ideas ?


Saturday 28 June 2014

Quick post inspired by Kate Yetter

My laptop is having major problems so this s a quick post using my daughters.  Kate's projects were all inspiring but I really wanted to have a go a drippy paint - not surprisingly it ended up every where !

Thank you for looking !


Sunday 22 June 2014

Stencil inspired by Penny Nuttall

If you haven't seen the brilliant creations from Penny this week over at PaperArtsy, pop over and have a look here.

I really loved the idea of creating a large stencil and filling it in with smaller ones.  I tried to cut out a butterfly and a flower but wasn't happy with the end result so ended up going for a letter "S".

The bag is a small canvas one I picked up on holiday last year and has been gathering dust ever since as I didn't know what to do with it.  I'll definitely try this again when I have more time.

I've used all three colours from the limited edition JOFY range ( love dusty teal!).

thank you for looking ! x


Thursday 19 June 2014

CC3 - challenge 4 - Texture Paste

Challenge 4 already !

Layering stencil - texture paste from page 49 of the Compendium of Curiosities. As usual fantastic prizes for the winner from Tom and Mario -details here.   Plus the bonus random prize of an extra $25 from Funky Junkie, details here.

For my piece I've used the waste from a die cut crown as a stencil - hope this still counts.

I started with a cardboard shape, which I've striped back the edges of. This was painted with silver and green distress paint and hi-lighted with distress ink in green and blue. I die cut a second mannequin in patterned paper and added a few flowers as a necklace.

thank you for looking!


Sunday 1 June 2014

JOFY stencil canvas

There's been some fab ideas on the PaperArtsy blog this week but as soon as I saw Jo's flower frame and picture I knew I'd have to try this out - especially as it uses my new favourite FF paint Dusty Teal.

I perhaps should have started out on a firmer surface as it was a bit tricky to get everything as neat as I wanted working on a canvas. Overall I'm very pleased with the overall effect - I think this might form part of my sisters birthday present.

I've use the same techniques as Jo describes here.  Ellen's stamps are next on my wish list so for the background I used this lovely wooden stamp my son bought as part of my Christmas present.

 
I think I need to treat myself to a new craft mat as well !


thank you for looking x


Thursday 29 May 2014

Inspired by Finnabair

The Arty Inklings challenge this month is to create a piece inspired by Finnabair - something I've never attempted before - but will be trying again as it's great fun.

My piece is the cover of a grey board memory book - I've used a number of random mis-matched items ( I so wished I'd taken a before picture) - see if you can spot;

- a bottle top
- 3 purple fabric butterflies
- a nail
- a paperclip
- white and pink flowers
- a watch battery
- red square gems
- the surround to a curtain tie back hook
- a metal flower

Never in a million years would I thought these items would have come together so well.

Thank you for looking and thank you Arty Inklings for the challenge ! (sorry about the colour of the photos - it's so gloomy today I've had a job to take them)


Sunday 25 May 2014

Beach scene inspired by Penny Nuttell

Penny created a wonderful scene using Darcy's flamingo stamps - I've used a similar technique to create a beach hut at the seaside. A few shells from last year's holiday completes the look.

Thank you again Penny for such brilliant ideas x


Stone garden project inspired by Penny Nuttell

If you haven't come Penny before her work is a definite must see - so fun and inspiring you can't help smiling.  I actually found a dry stone yesterday between downpours and this is what I've come up with.  To see Penny's step by step instructions please see here.

I've used JOFY stamps as my background and raised elements - I can see a few more of these "growing" over the next few weeks.

thank you for stopping by...x


Thursday 22 May 2014

CC3 - challenge 2 Distress Glitter

The latest fab challenge from Linda Ledbetter is the use of Distress Glitter (see page 56 in the latest Compendium of Curiosities). Have a peep here at the marvellous GDs projects and entries.  There are wonderful prizes on offer from Tim Holtz and The Funkie Junkie Boutique (click here).

I've made a small hanging using corrugated card painted in PaperArtsy Blood Orange and Tinned Peas paint.  I have edged with gilding wax which unfortunately doesn't show up much in the photos.  This is finished off with a tattered flower and distress glitter leaves.  I don't use a lot of glitter but may be a convert after using this.


Sunday 18 May 2014

C&S card inspired by Keren Baker

Hate to say it but I've had to come in from the garden as I was too hot !

I've had a little cool down and made a quick card inspired by one of Keren's techniques.  See all of Keren's ideas here.  I've gone for bright and summery colours, London Bus, Tango and Blood Orange.

Thank you for looking x