I enjoyed making my blue and green masterboard so much I decided to do another with different colours - think I may be addicted lol. You can see the original masterboards from the 3UP post on Christmas Eve here.
Tuesday, 30 December 2014
Monday, 29 December 2014
Masterboard inspired by Paperartsy 3UP Christmas Eve post
There's been so many inspirational posts in the last week it's hard to choose what to try first - I wanted to do something I could work on on my lap the other evening so a masterboard was perfect. I quickly stamped out a random selection of JOFY stamps and set to work with my promarkers.
Here's the finished A4 sheet...
and here's the cards I made the following day ......
Thank you for looking xx
Here's the finished A4 sheet...
and here's the cards I made the following day ......
Thank you for looking xx
Saturday, 27 December 2014
Background inspired by Anneke de Clerck
Anneke created a lovely Christmas wooden panel which you can see here.
I decided to create a journal page using the similar techniques and colours for the background as Anneke used so I wont go into step by step instructions. But here are the steps in pictures instead......
I decided to create a journal page using the similar techniques and colours for the background as Anneke used so I wont go into step by step instructions. But here are the steps in pictures instead......
I chose this particular project as inspiration as it takes me out of my comfort zone colour wise - overall I'm quite pleased with the end result.
Instead of a Christmas tree for the main image I stamped some JOFY flowers onto to scraps of patterned paper and fussy cut then out. I stamped the stems directly onto the page in olive ink and glued on my flowers with a few little leaves.
thank you for looking xx
Tuesday, 23 December 2014
PaperArtsy 3UP
Tonight was my first post for a PaperArtsy 3UP week - for "cracking" posts by Deborah, Margaret and myself please see here
Here's my finished project xx
Tuesday, 2 December 2014
CC3C Challenge 16 Layering Stencil Embossing Technique
I meant to try and enter as many challenges as I could - think this is my second, times flies with all the other everyday things that need fitting in.
This month's challenge is based around page 50 of volume III of A Compendium of Curiosities - layering stencil embossing. This months fab prizes are a selection of goodies from Tim & Mario and also The Funkie Junkie Boutique, see here.
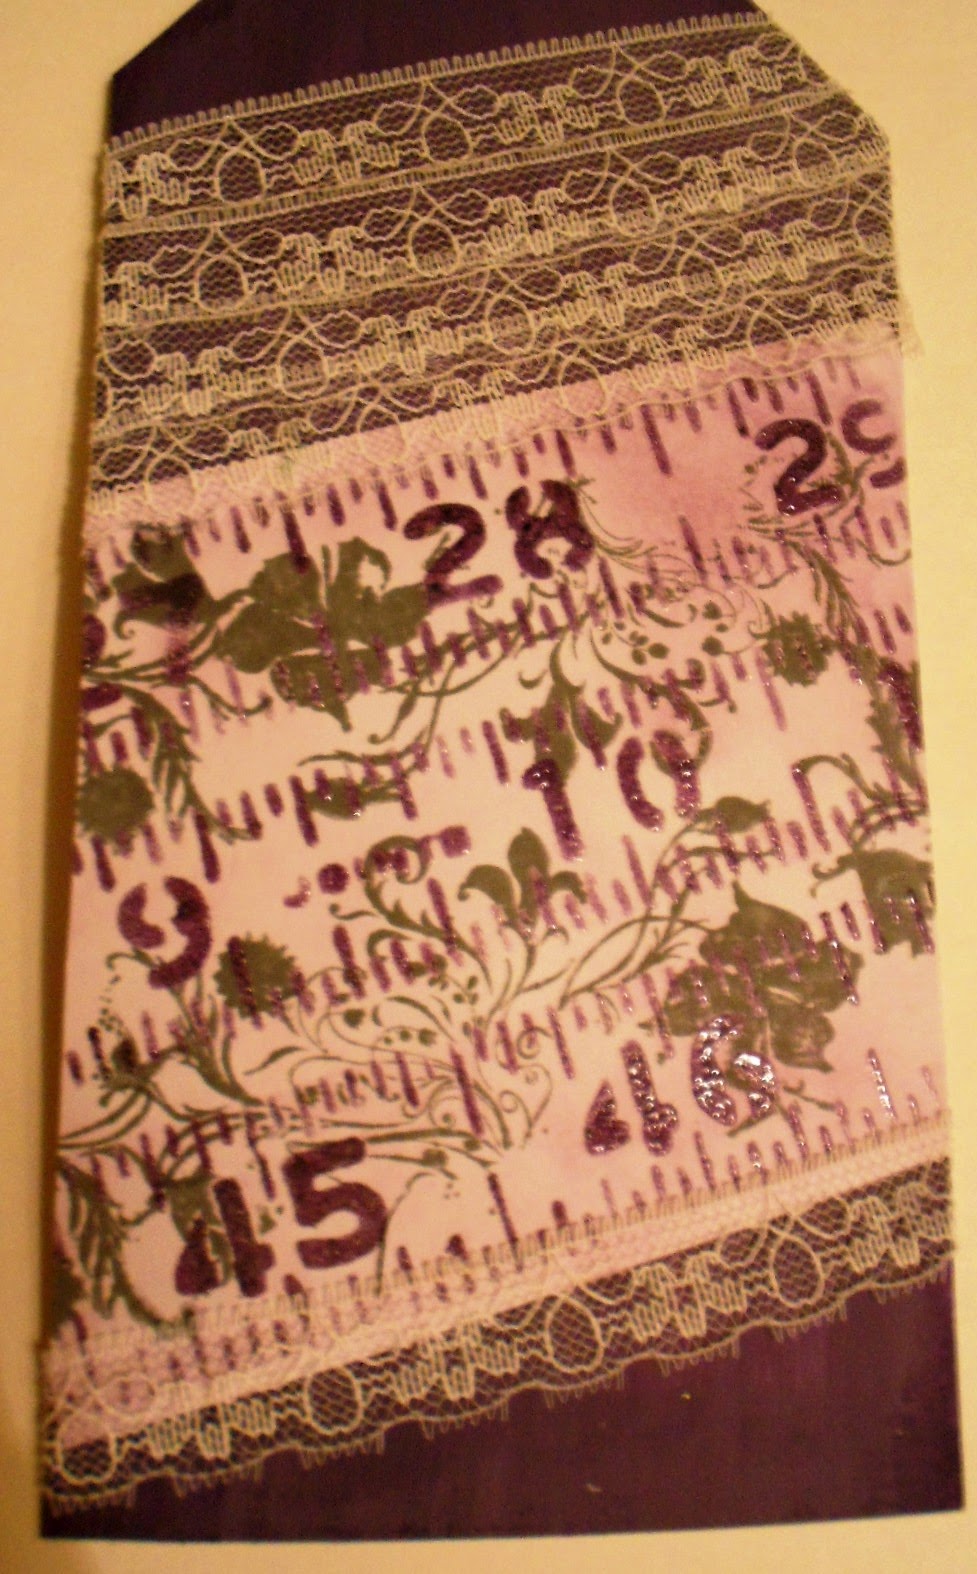
I've taken a large tag shape and painted the background in dark purple, I decided to follow that colour for my whole scheme. Next I created a panel using the layering stencil technique with my newest mask "measured". This is also stamped in grey using the same stamp I've used on the dress form.
Next followed a mannequin die cut which I also painted and then embossed with some gorgeous sparkly powder in a swirly pattern to give the idea of a dress. To add a touch more sparkle I've also added some silver wings.
A touch of lace and a flower finish the tag.
Subscribe to:
Posts (Atom)


